18th June 2015 by Pambos Palas
3D Printers [Part 2 – Unpacking]
Having covered some considerations in purchasing a 3D printer in the previous post, as well as what factors led us to opt for the Zortrax M200, this post will cover the unpacking of the printer and our initial experience with setting it up and using it. Hopefully there are some tips in this post that might help make the process smoother for others. In general it was a very positive experience and it was a very exciting day to say the least!
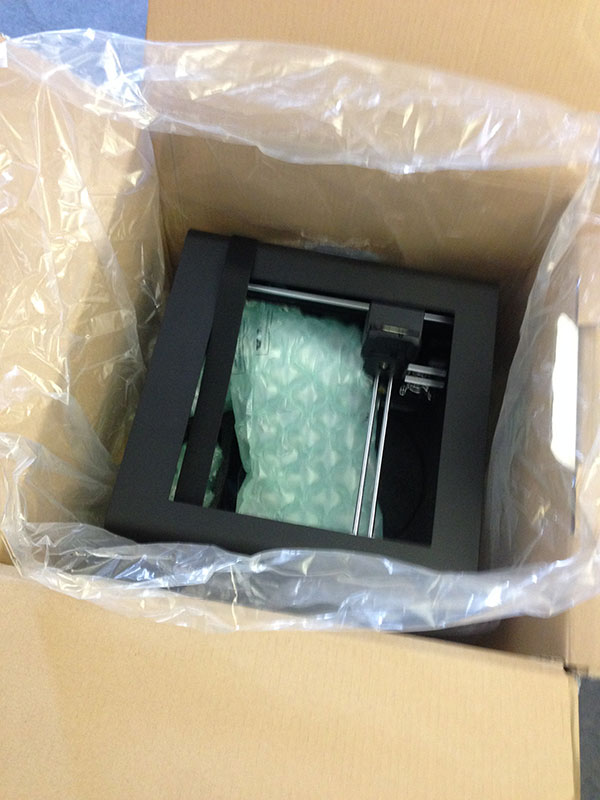
Once we received the call that our printer was ready to collect and having picked it up, the first thing that we noticed was that they’ve done an excellent job with packaging and shipping. This is not a comment that I would make under normal circumstance, as its something that you almost expect to be done perfectly – but when it comes to a 3D printer that originated from a kickstarter campaign, I was expecting something made by hackers for hackers and was hence almost expecting somewhat of a rough job.. perhaps with some loose items and bubble wrap. Quite to the contrary, what we found was that the printer was packaged very snuggly in a custom made foam structure, with external parts held in a nice vacuum formed enclosure. Taking it out of the box was easy, and it came with a sense of confidence that it reached you safely all the way from its origin – Poland.
Before even looking at the printer, what struck us was the amount of accessories it came with, and how thoughtful this was. Amongst other items, the printer came with:
- Safety goggles
- SD Card Adapter
- Safety Gloves
- Scalpels and a Cutting Knifer
- Allen Keys
- A Spatula
- Tweezers
- Grease for Maintenance
This “starter kit”, as they call it, came in very useful very quickly! It saved a lot of hustle in otherwise finding the right tools, and it made the experience of extracting and handling prints much easier.
So having unpacked the printer, there wasn’t much left to do. We just removed some of the tape holding parts together, and more importantly some plastic clips with hold the extruder rails together – which apparently a lot of people forget about. What was really neat was that these clips were also 3D printed!
Then you simply place the platform in place, plug in the two cables, and attach the extruder cable. The printer also came with some adhesive cable management clips which offered some guidance for the extruder cable, giving it a nice neat touch.
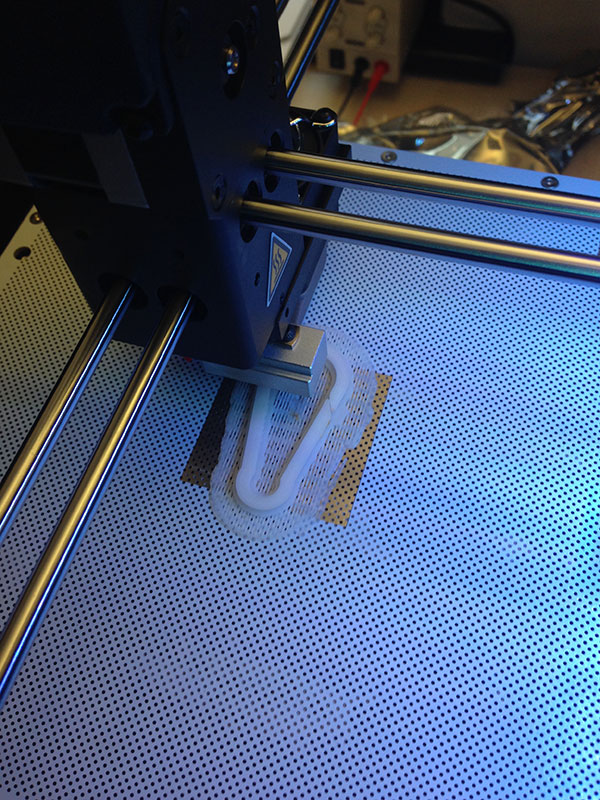
Inserting the filament was as easy as selecting an option from the menu, waiting for the extruder to heat up, and feeding some into it. After some calibration (see part 3), we were all ready to print the first part which was preloaded onto the SD card – a carabiner.
I think just about everyone in the office was starring at it as it set off, printing the carabiner with great detail and a relatively fast pace.