15th December 2015 by Pambos Palas
Recovering a Dead Hard Drive
TL;DR: In trying to setup a new backup server, we blew up an original hard drive and lost the data we were hoping to back up! Plugging in the wrong power source to our hard drive resulted in smoke and the hard drive not being recognized by the BIOS anymore. This is a quick tour of what we tried and the way we recovered the data.
Changing a PC power supply is a relatively simple task for the IT aficionados out there, or at least that’s what we thought. Nowadays computer parts are carefully designed to make the process as simple as possible, and the manufacturers make sure you don’t do silly mistakes when using their products by designing the parts in such way that you are only able to use them with specific compatible components.
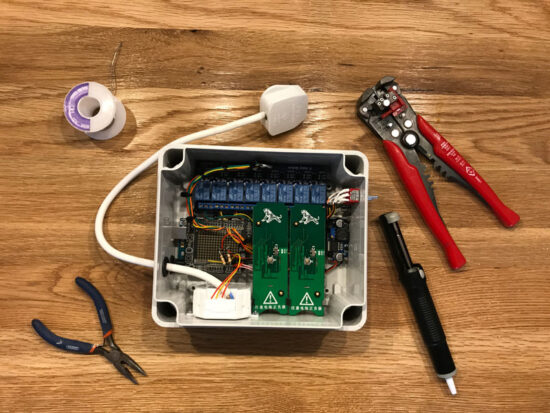
We recently purchased a new backup server and due to packaging limitations, we decided to swap the PSU with one from a computer we were trying to back up – a fairly straightforward process. It all seemed fine until we turned on the computer and disaster struck: a cloud of smoke covered the computer, the familiar smell of burnt electronics was in the air, and worst of all, we noticed that the source was the hard drive. The first thing that came in my mind was, “oh boy, how much data and hard work did we lose?” After investigating, it turned out to be quite a trivial mistake; we simply plugged in the wrong cable from the other power supply, assumptions, assumptions, assumptions!
And so it began, our long journey of recovering the lost data.
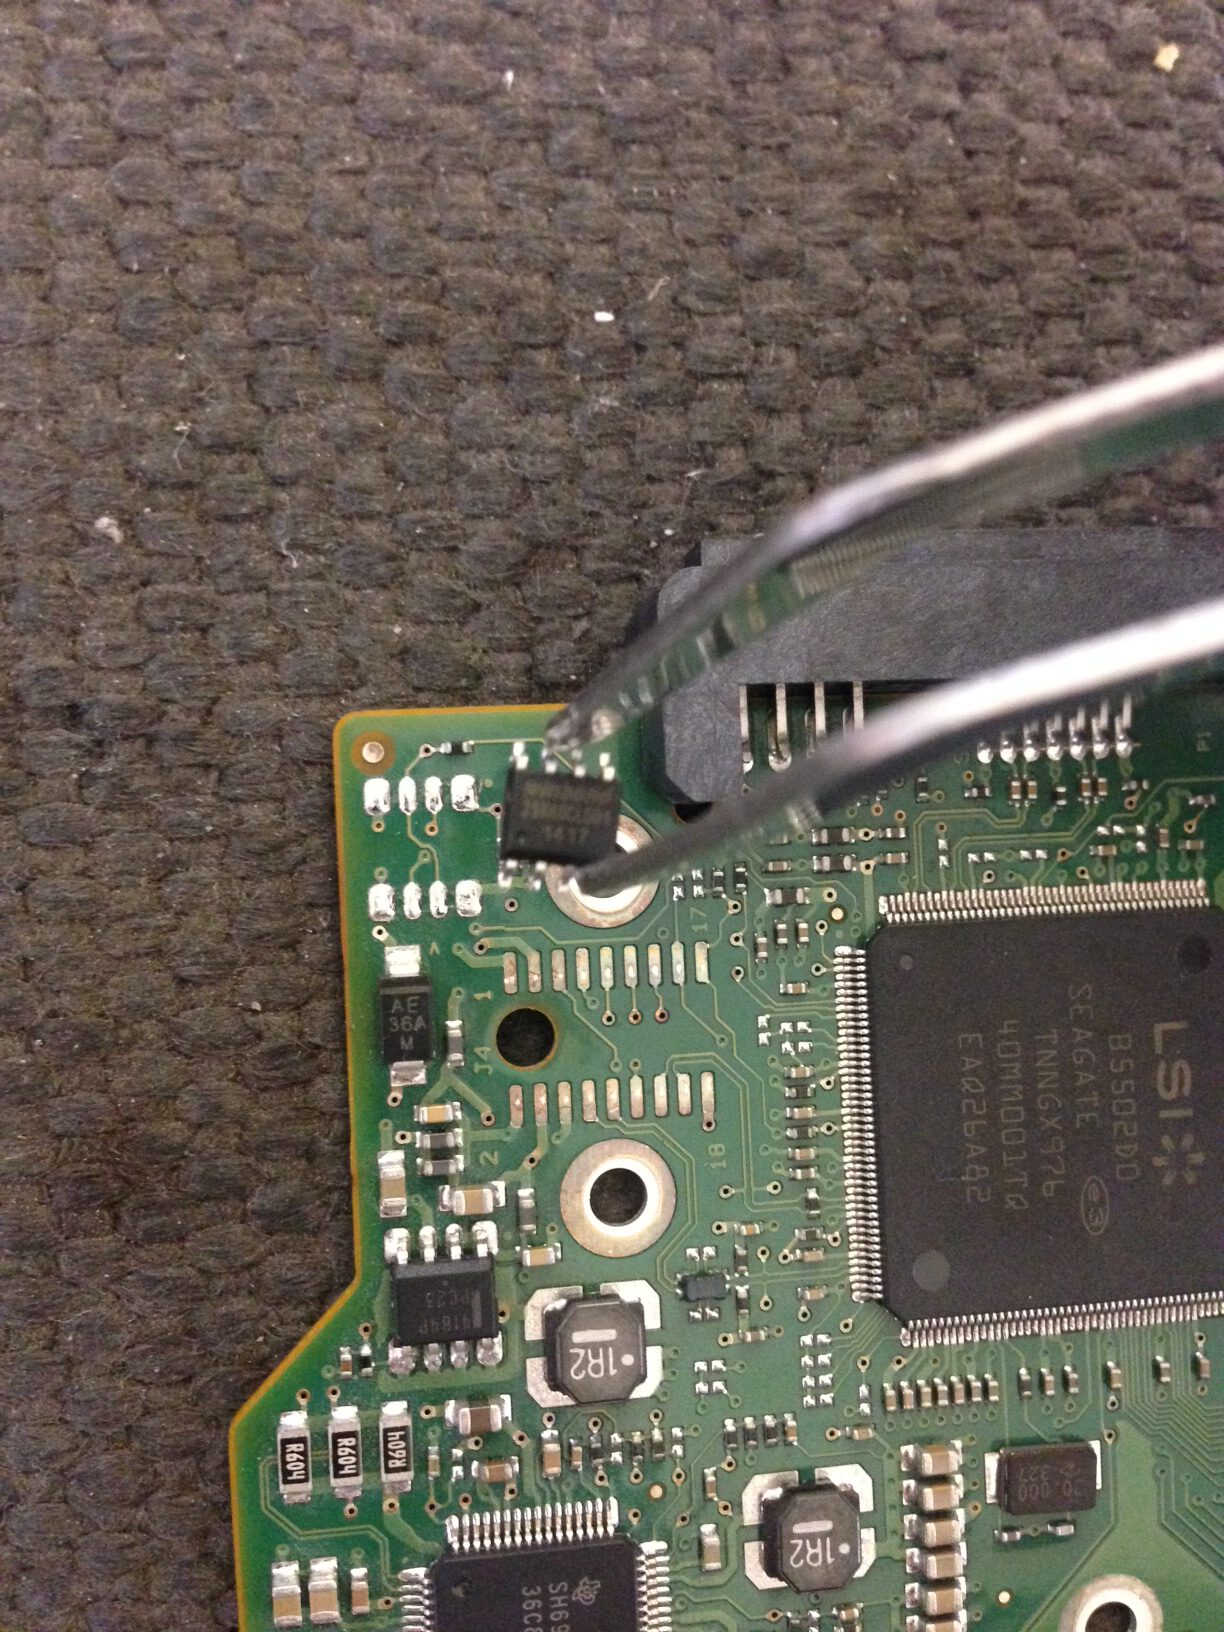
Analyzing the PCB of the hard drive
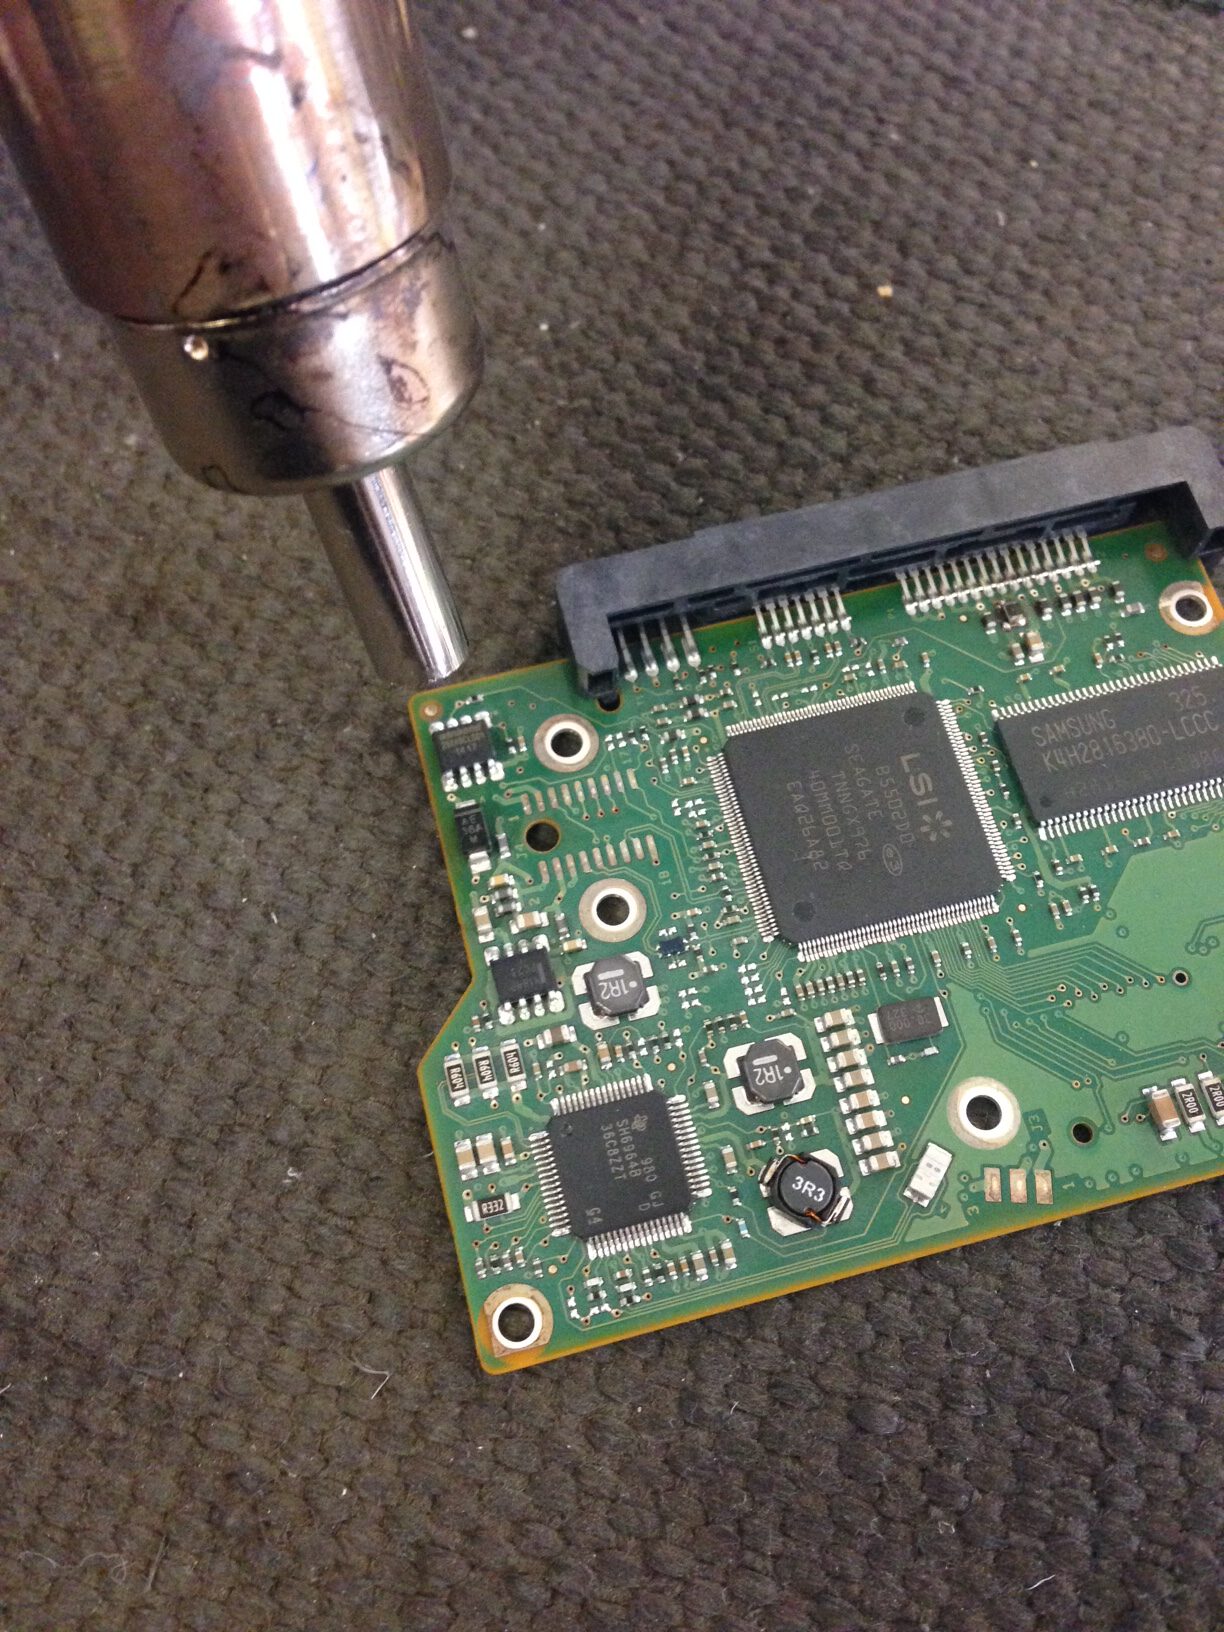
After dismounting the hard drive and removing the screws of the PCB, we finally found the source of the smoke.

Visibly, only a couple of components or so were burnt. At first glance they seemed to be some sort of bypass capacitors or resistors. Quite a significant patch on the PCB was carbonized, so it was quite difficult to actually see the paths and establish what components were missing. Of course, a quick Google of the PCB revealed the latter, but cleaning the burn area with a flux remover and a hard brush worked wonders, and we were able to see the paths fairly clearly (albeit with some of the solder mask burned off). Although it is impossible to fully assess the damage with a simple visual inspection, we could at least see that two components were missing. We did suspect that some of the ICs were probably fried, or at least damaged to the point of rendering them unusable, but in our desperation we nurtured some (perhaps naïve) hope that the damaged was confined to the passive components, and that we could salvage the board by fixing the localized problem.
We decided to solder some new bypass capacitors (0.01 uF) and see if we could get the drive recognized again. Unfortunately, this got us nowhere, and the disk wouldn’t even spin when plugged in. This meant that the motor controller wasn’t receiving a signal, or even that it was fried itself… or… perhaps we did a bad job with soldering the bypass capacitors. What if they weren’t capacitors at all? What if they were diodes? We decided to go for one more attempt and make a bridge between the paths on the PCB. This attempt proved just as futile as the first and we began to lose hope – the hard drive was not being recognized at all.
Although we were unaware of the extent of the damage, we were fairly confident that the PCB was indeed the culprit and that the disk itself with all our valuable data was fine. The logical next step was to order the same model of hard drive and swap the PCBs once we receive it. It was quite easy to find the same model online (Seagate 500GB st500dm002), and delivery was quick. Once the hard drive arrived, we quickly took off the new PCB and inspected it, only to discover to our horror that the revision of the PCB changed from C to D. It looked identical in terms of components (although the part numbers could of course have been different), but we suspected that the change was probably firmware related. We decided to give it a go anyway. To our big disappointment, it still failed. This time the hard drive was actually spinning when booted and it even was being detected by the BIOS, but as a different device and size (ST_M13FQBL with 4GB).
Considering desperate actions
At this stage we were running out of options, we spent more money trying to fix the problem to no avail, and we were considering what we could do to salvage the situation. After all, it was at least 1-2 weeks of recent work lost (for a deadline) and lots of previous work. We even considered using an external data recovery company which would take us back roughly £400 for their services. Funnily enough, on that same day we were building our new FreeNas server to have a good backup system in place since our current system was running out of space.
The discovery of the mighty chip
We attributed the fact that the new PCB didn’t work to it having a newer revision. We weren’t sure how that would have affected it, but it seemed a logical explanation. However, after spending loads of time online and researching similar problems, we had an interesting realization. We found out that the hard drive PCB also has an EEPROM where it stores all the vital information about the current state of the hard drive. Suddenly, a glimpse of hope appeared! It was a long shot since we had 2 different PCB versions but we tried it anyway. Using a reflow kits, we unsoldered the chip from the burnt one and soldered into the newly ordered hard drive’s PCB, then, we mounted the new PCB with the original EEPROM chip to the burnt hard drive and give it another go.
“Starting Windows” – Success! Yep, simple as that we had the booting screen and the computer was in working condition with all our files intact.