16th December 2014 by aegeuana_sjp_admin
Qt Quick – Very simple rapid app development
Qt Quick is a part of the SDK from Qt. It consists primarily of the following:
- QML – markup language to create GUI interfaces
- Javascript – scripting language to manage user interactions
- C++ – fast and powerful programming language
By creating a Qt Quick application we are connecting all of these three parts into one. The most common use case for this type of application is to create a GUI with QML and Javascript to handle the user interface and user interactions and C++ as the back end to handle complicated calculations and time-consuming processes.
The most interesting part of the aforementioned elements is QML, as this is something new, created by Qt developers from the ground up.
QML was developed to satisfy all types of devices from desktop to mobile devices. It was introduced from Qt 4.7 as a technology to create outstanding graphical interfaces in a C++ applications.
QML is a markup language like HTML. The rendering is based on OpenGL and allows developers to create GUI interfaces for desktop systems (Linux, MAC OS, Windows), tablets and mobile devices. Moreover with Qt IDE it is incredibly easy to write QML. As a first (very simple) example we will implement an application that will show and explain the basics of using QML.
To start we need to create a new project in Qt IDE with QT 5.x.
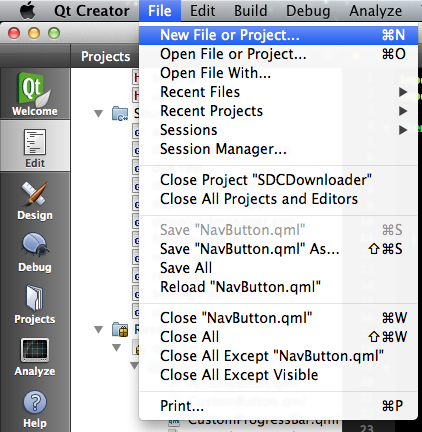
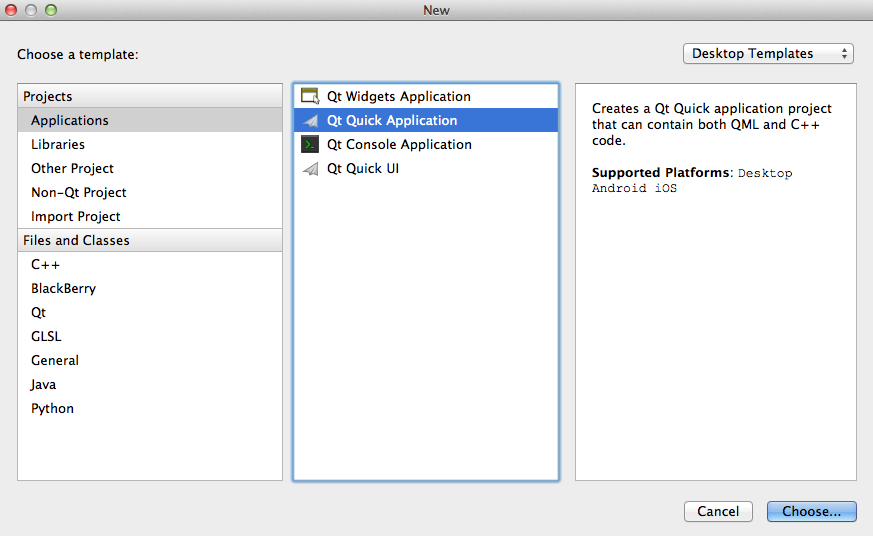
Qt will create a basic template for us that we can build and run.
QML is built from blocks that can be nested inside each other, each document though can have only one root element with multiple children.
[code language=”javascript”]
// main.qml
import QtQuick 2.3 // import libraries for QML
import QtQuick.Controls 1.2 // import predefined elements
ApplicationWindow { // define root element
visible: true // set it’s visibility
width: 640
height: 480
title: qsTr("QML test") // set title of our main window
menuBar: MenuBar { // create menu bar element
Menu {
title: qsTr("File") // set name of the menu tab
MenuItem { // create item for menu
text: qsTr("&Open") // set title for menu item
// set action that will be fired when element after click on it
onTriggered: console.log("Open action triggered");
}
MenuItem {
text: qsTr("Exit")
onTriggered: Qt.quit();
}
}
}
Rectangle{
id: background
width: parent.width
height: parent.height
color: "#0e1011"
Text { // define element of type Text
text: qsTr("Hello World") // set title of that element
color: "#ffffff"
anchors.centerIn: parent // specify location of the element
}
}
}
[/code]

Each element can have unique id that we can identify it by. We can access the parent of each element by using the special keyword `parent`(excluding root element). This post simply demonstrates the basics of QML. In the next article we will show how to bind the backend written in C++ with the front end implemented in QML